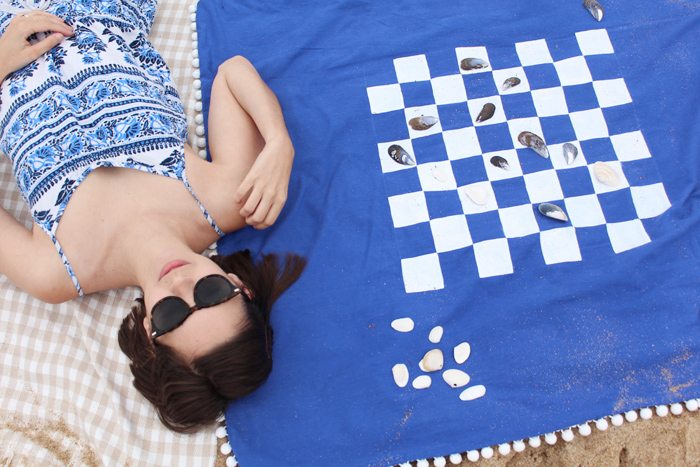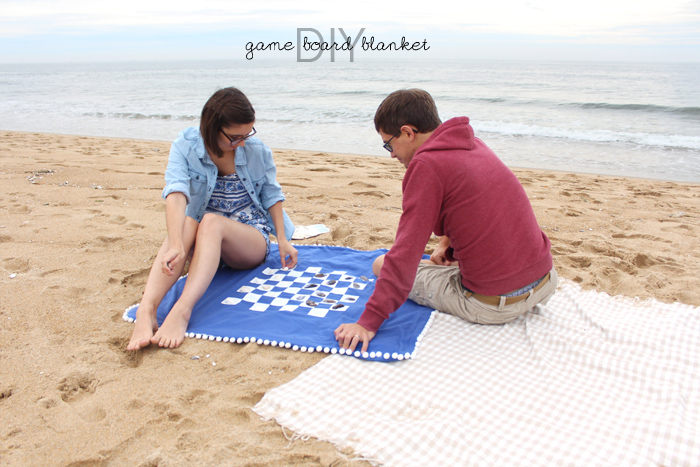
Boo and I love going to the beach. Year round, actually. And heres the thing - as much as I love it, I get antsy sometimes. Boo naps. Like, that’s his favorite thing to do. He hits the sand and he’s out. I need to be doing something, though. I’ve tried bringing a book. But for some reason, I just can’t read on the beach. I get distracted, and still, antsy. I know, I’m weird. Isn’t that like the number one beach activity?!
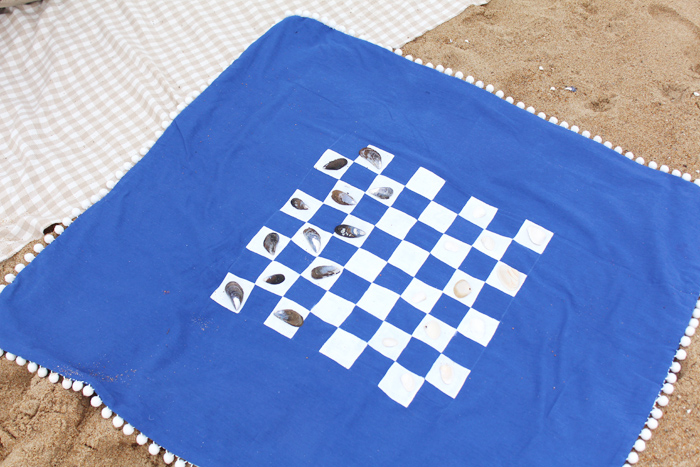
So I saw this DIY a while back for a portable checkers board made on a placemat, and I thought - why not make it on a bigger scale and put it on a blanket? That way, it’s double duty! Triple duty, actually. Its a game board, its something to sit on, and it’s something to cover up with. And while we’re at it, let’s make it double sided, too.
\
I decided to go with a checkers board on one side, and a mancala board on the other. I’m not very good a checkers, by the way. But mancala? Mancala is my jam.
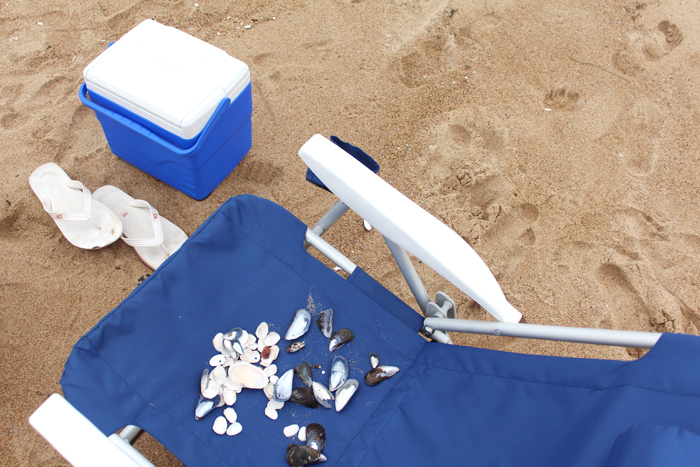
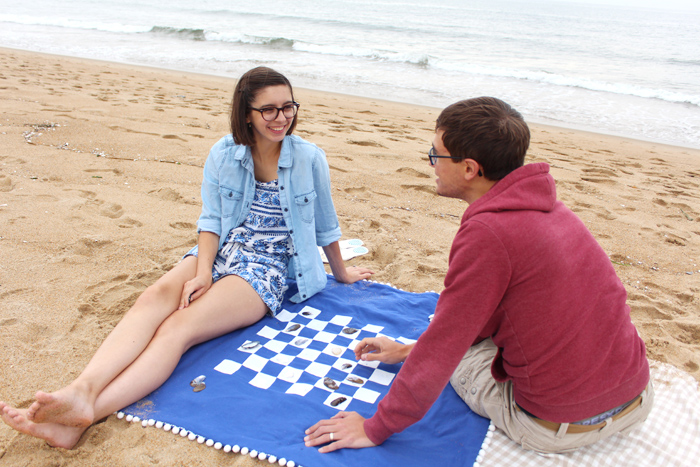
The best part about it? You don’t have to carry around all the little game pieces. Just pick up shells or rocks or anything around you and use those as your game pieces.
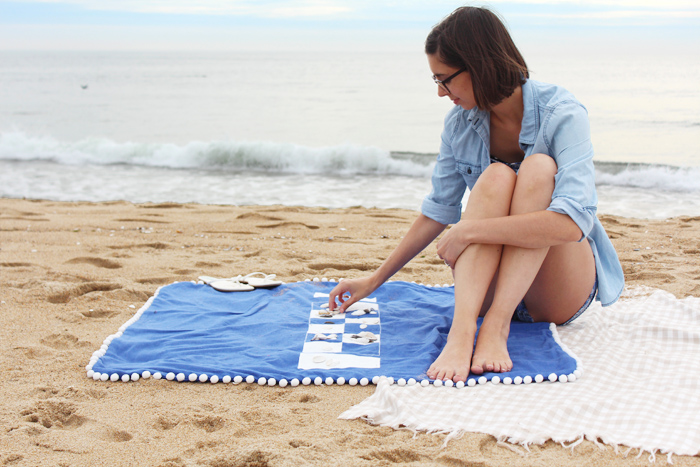
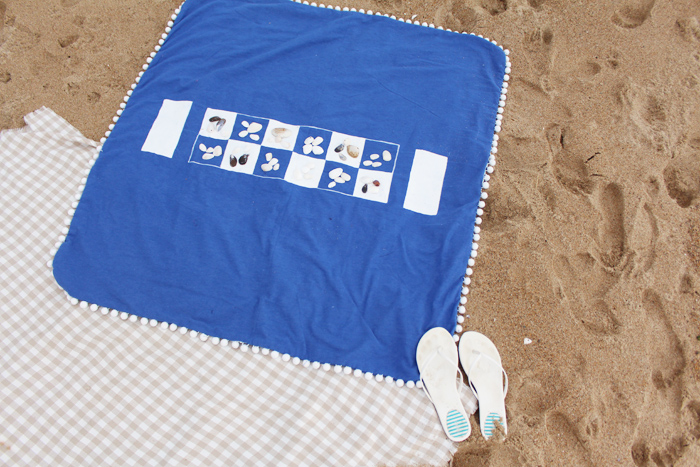
And it doesn’t just have to be for the beach! It would make a perfect picnic blanket. Or just for taking to the park, or your own backyard, and enjoying some fun out in the sun.
So, read on after the jump to see how I made it!
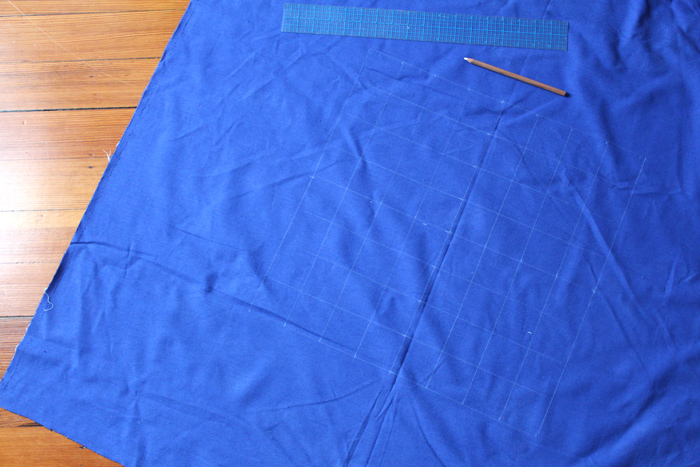
Supplies:
- a couple of yards of fabric (I used a lightweight, soft cotton flannel)
- fabric paint and brush
- scissors
- ruler
- white pencil or chalk
- pom pom trim
- sewing machine / needle and thread
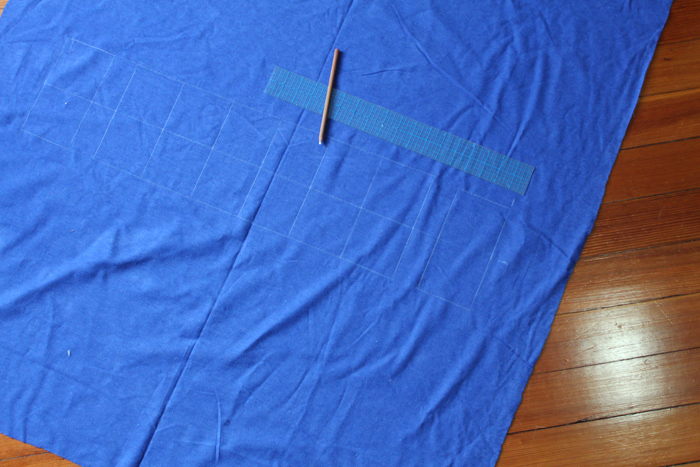
1. Cut two big squares of fabric. As big as your fabric is wide. My flannel was 42” wide, so I ended up with 42” squares.
2. Using tailors chalk or chalk or a white pencil, draw out your game boards. Don’t worry, any extra markings should eventually rub out. Or just wipe them off with a little water.
Your measurements will all depend on how big your fabric is, and how big you want your game boards to be. But here is how mine measured out…
Checkers:
- draw a 18” square in the middle of your fabric. Divide into a 2 1/2” grid. there should be 8 squares on each side.
Mancala:
- draw a 7x27” rectangle in the middle of your blanket. Split right down the middle the long way, and then every 4 1/2” going the short way. That will leave your with two sides of 6 blocks.
- On either end, leave a 2” gap and draw 7x3 1/2” boxes.
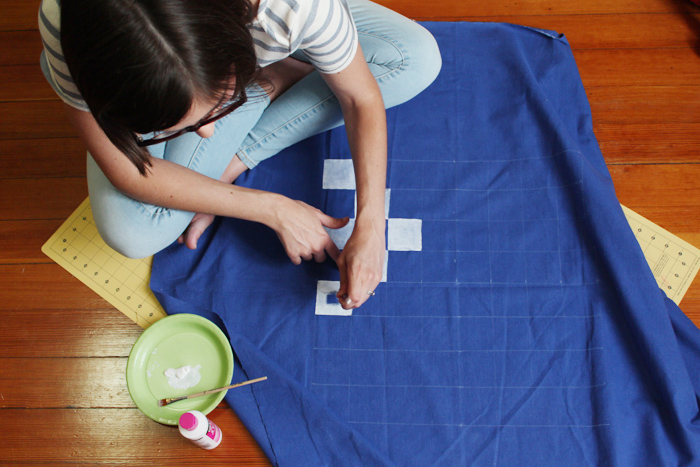
3. Get to painting! Try to keep your lines nice and straight, using a flat edge brush to help. You’ll probably need to do two coats.
Oh! Don’t forget to put something underneath your fabric. It WILL leak through.
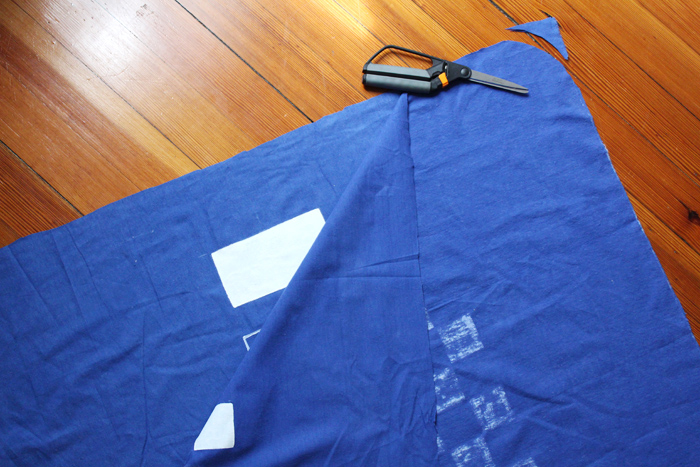
4. Once your paint is dry, place your two fabric pieces with right sides together. Line them up perfectly. I then cut and curved each of my corners just to make it easier to add the trim.
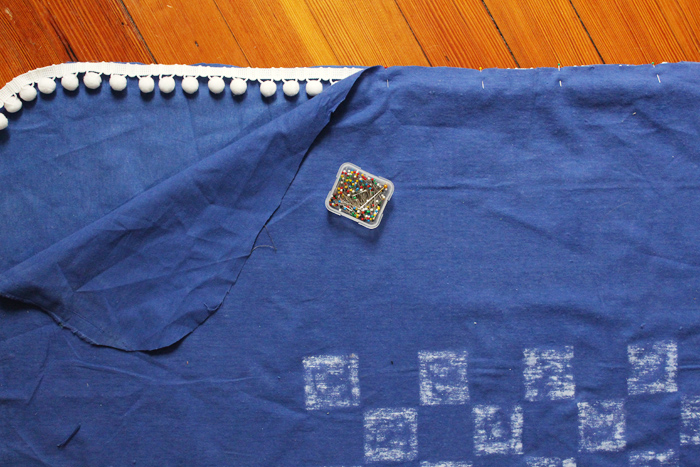
5. Place your trim along the edge, pompoms towards the inside, and sandwiched in-between the two fabric pieces. Pin in place.
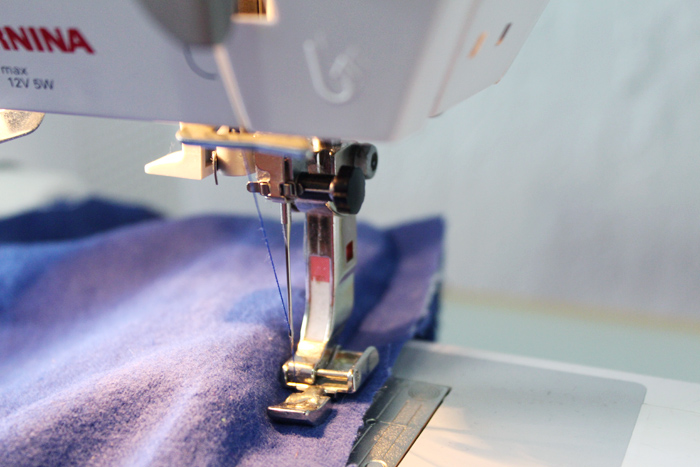
6. Time to sew! It would be best use a presser foot that allows you to get right up close to pom poms, like a zipper foot or something similar. You want to be as close as possible so none of the thick white strip of the trim is popping out in the end.
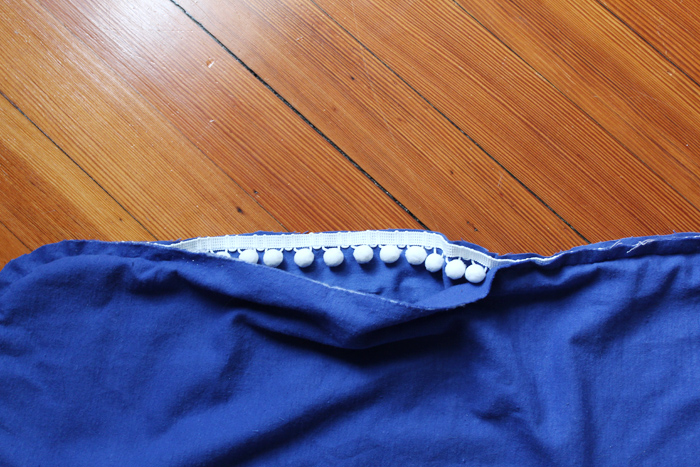
7. Sew almost all the way around, leaving a good sized gap. Make sure the backstitch at each end. If you want to baste down that last bit of trim to one side, you can do that now.
Turn your blanket right side out through the gap that your left. Finish it up by closing the gap with an invisible hand stitch.
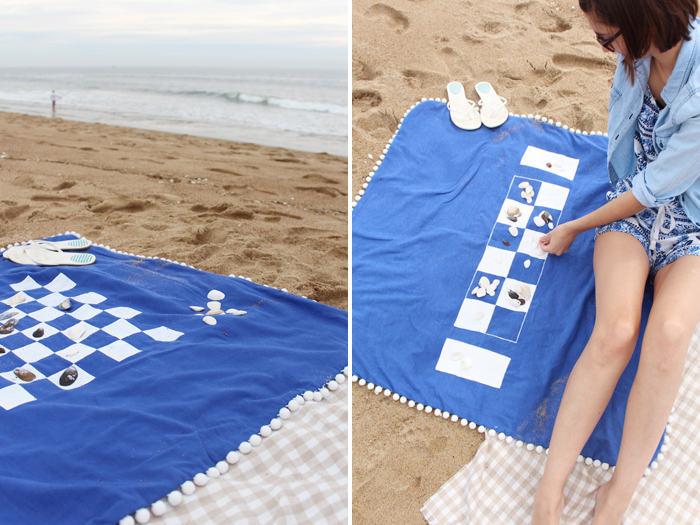
Take your new blanket to the beach, or on a picnic, or to your backyard! Find some rocks or seashells, and have fun :)
