2020 Gift Guide for kids

Hey everyone! I’m not one to share big ‘ole holiday gift guides, but every year I like to re-share my top 3 absolute favorite gifts for kids. The tried and true ones. The ones Penny (and most kids) can’t seem to get enough of. You can’t go wrong with these three!
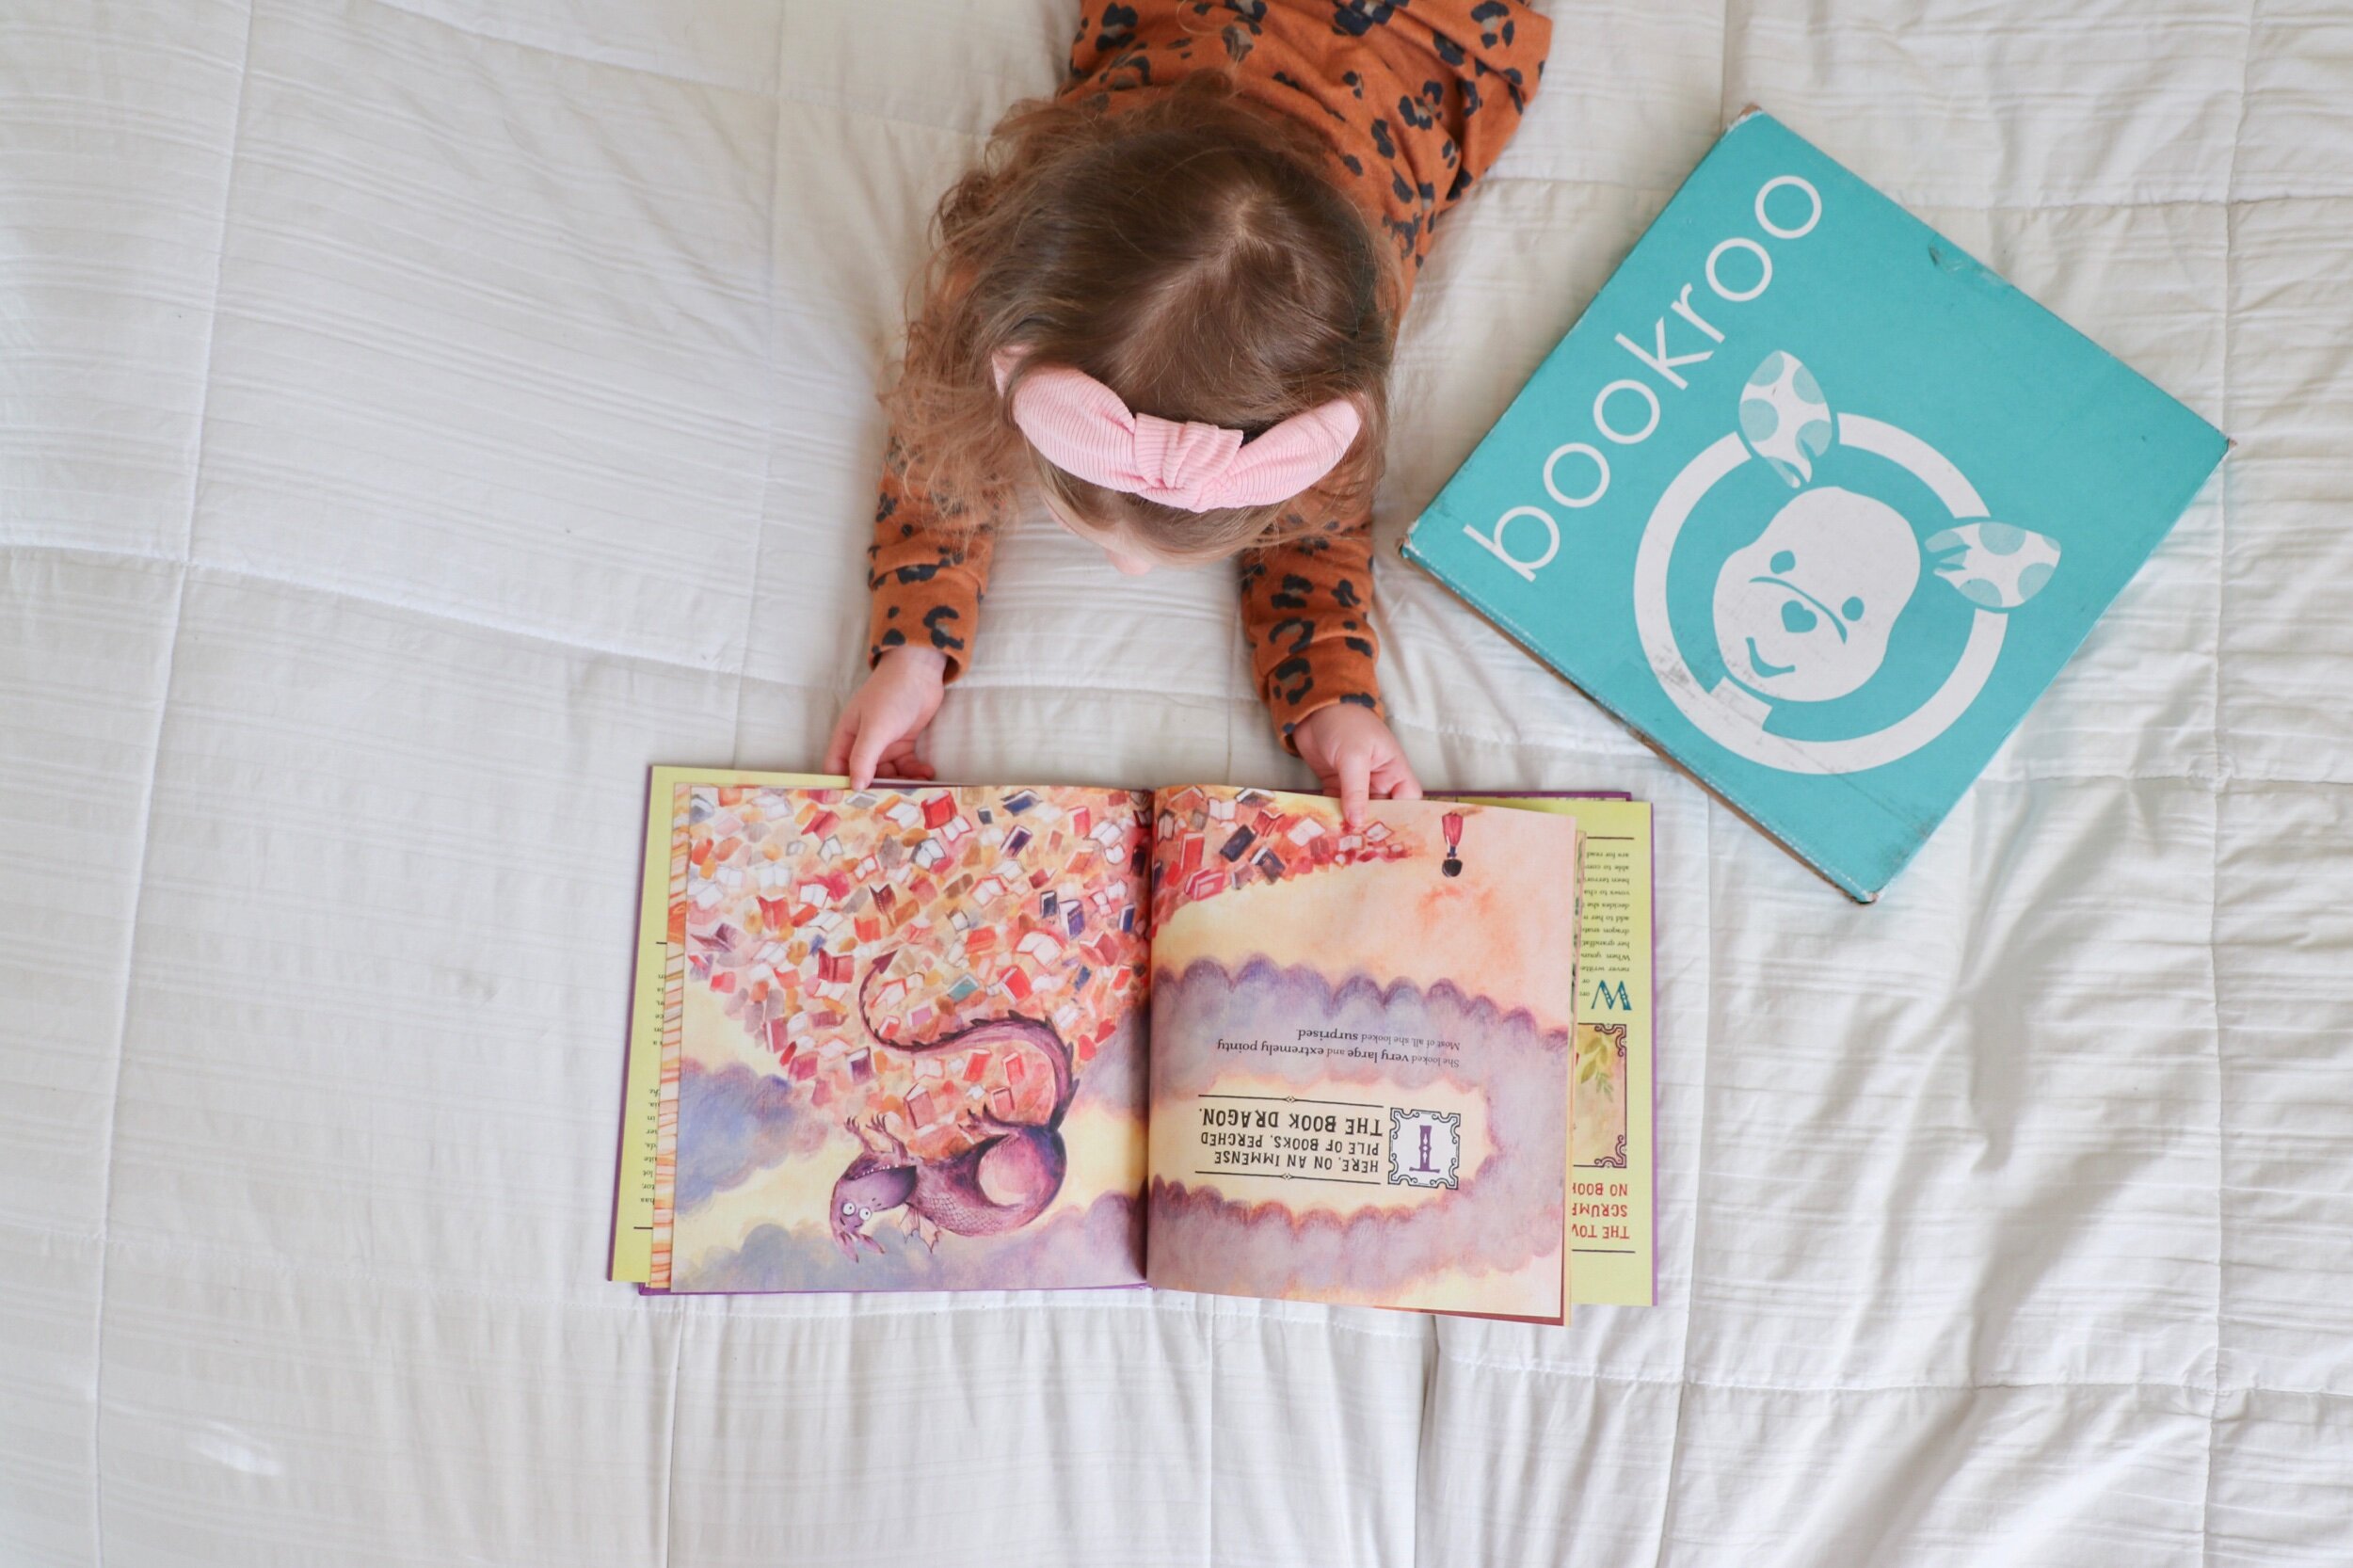
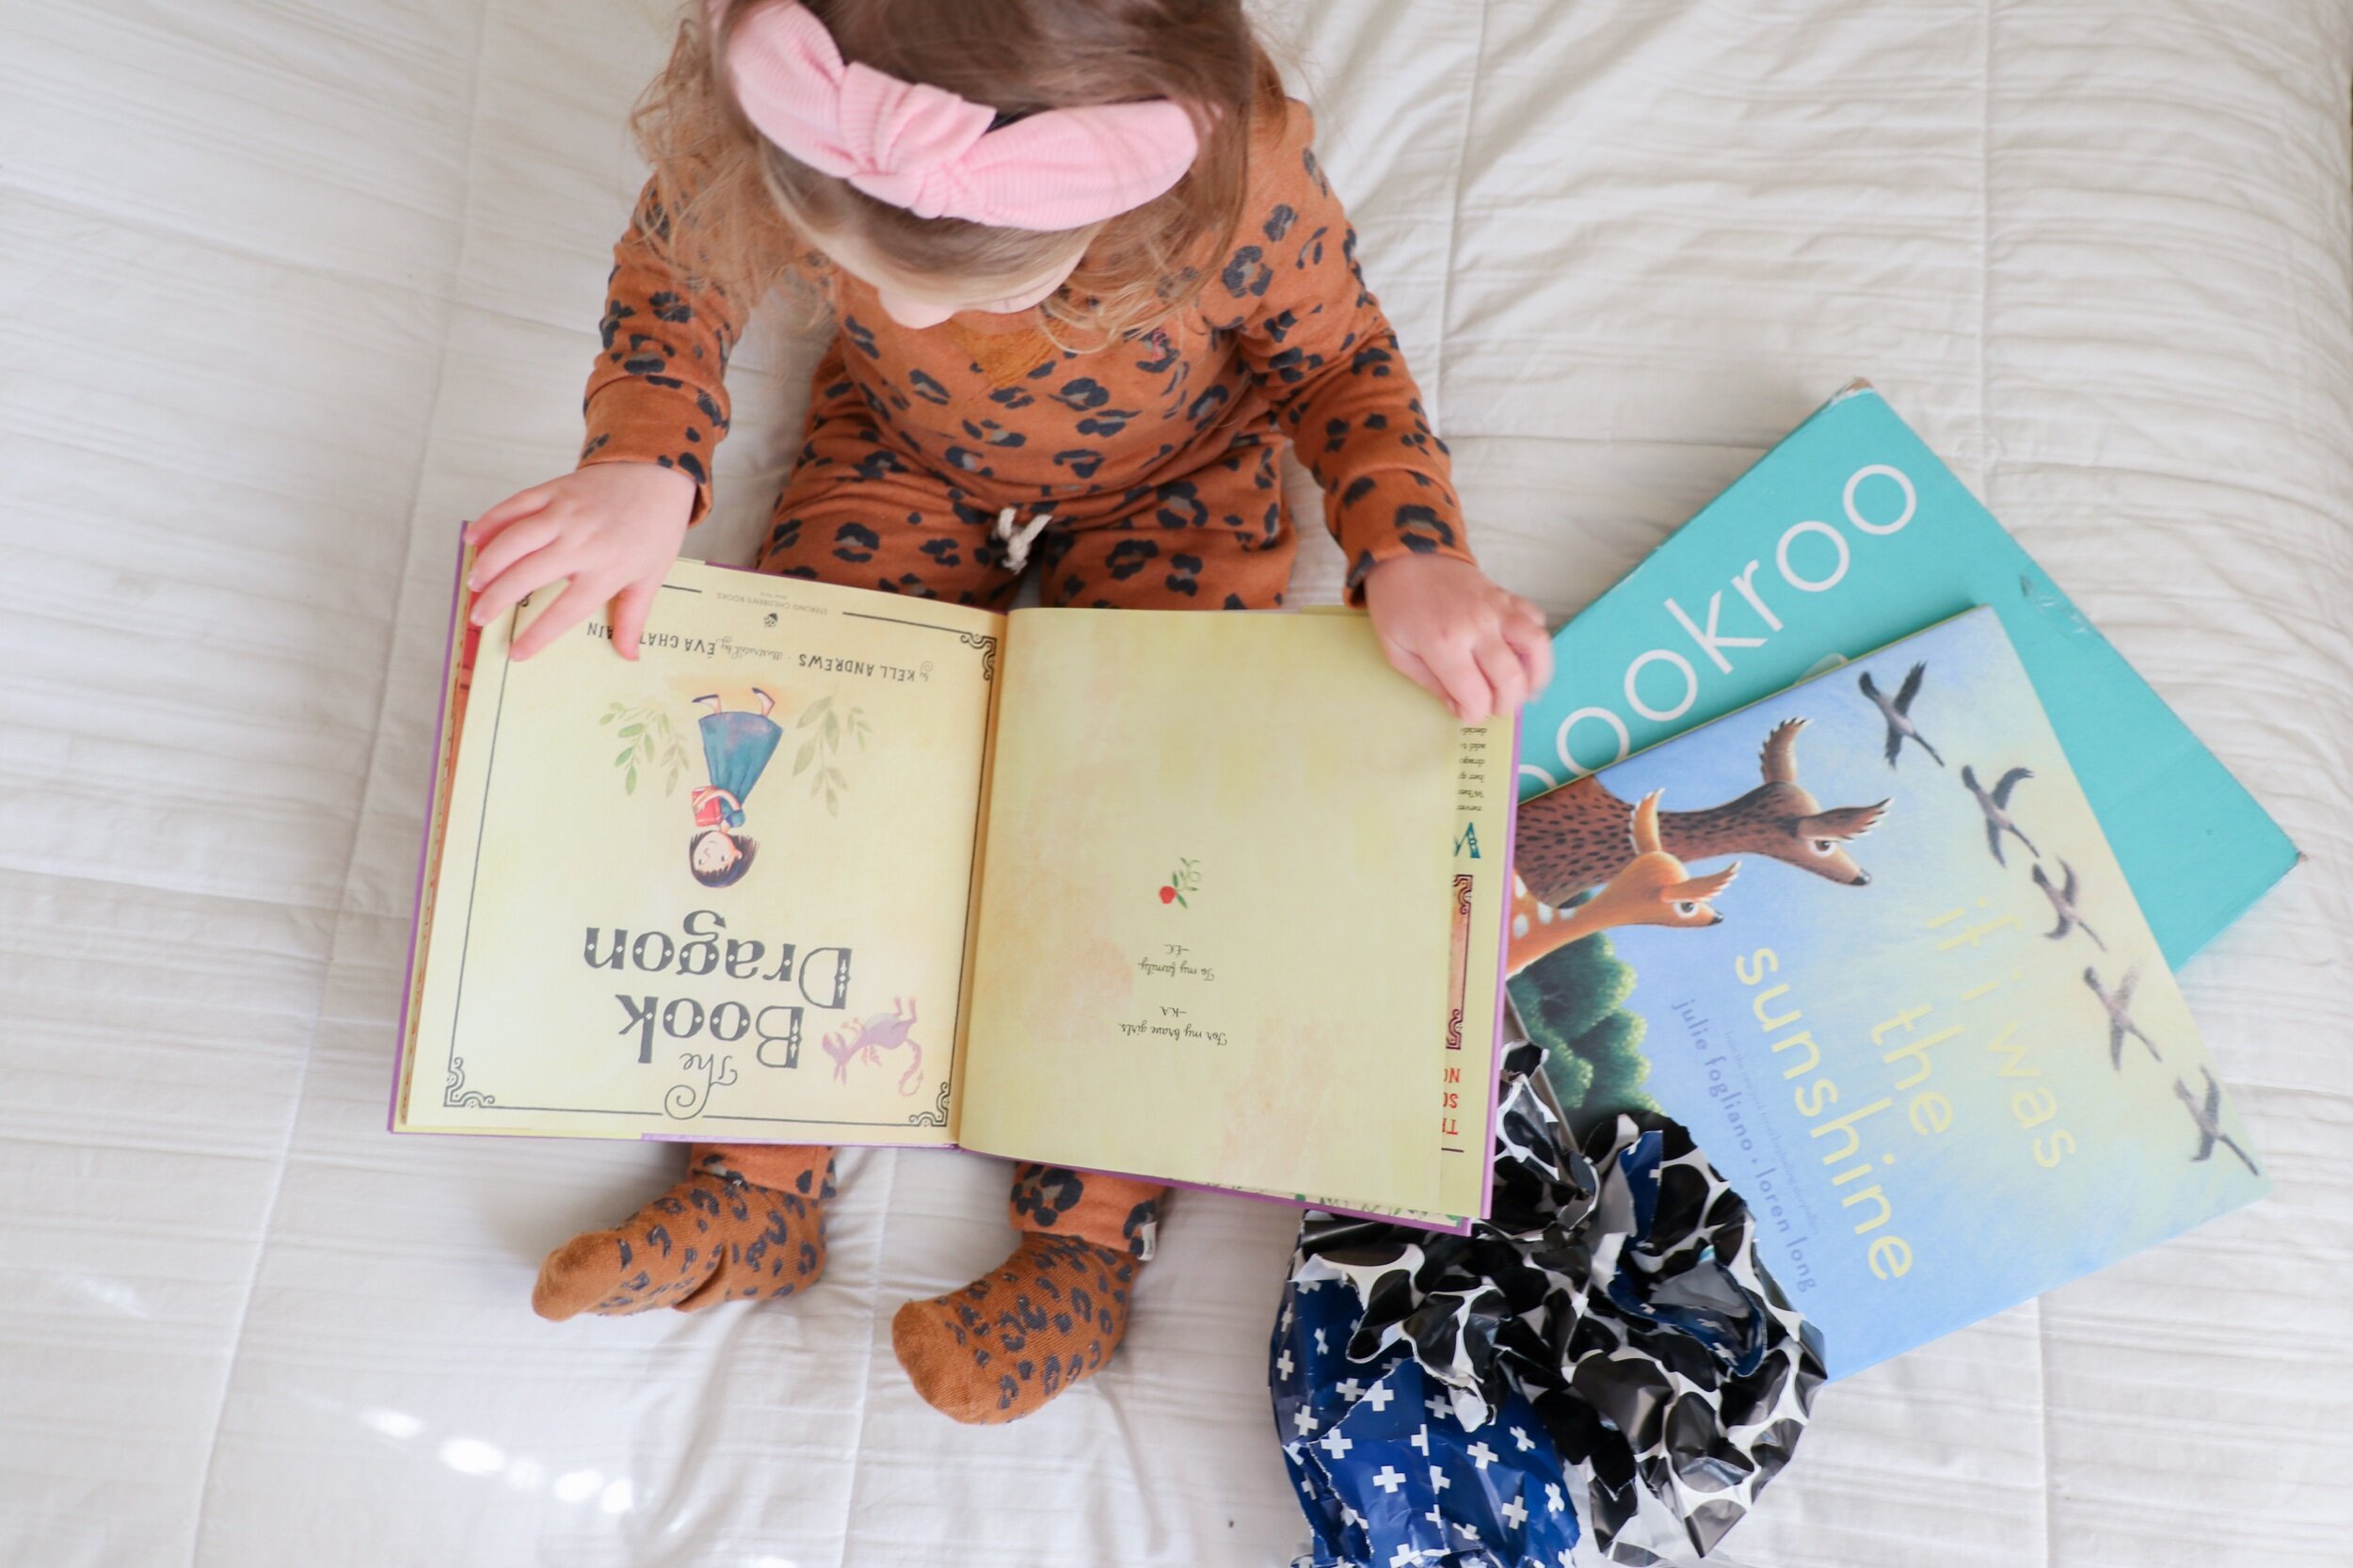
BOOKROO

This is my absolute favorite gift for kids that I bring up year after year. We love Bookroo, if you don’t know already!

Bookroo is a children’s book club subscription box service. You can choose from 1, 3, 6, or 12 month subscriptions, for yourself or a gift for someone else, and you can choose to get 2-3 board books (age 0-3), picture books (ages 2-6), or chapter books (ages 7-10). So it works for almost any age! Also, each book inside the box comes individually wrapped like a present. So even the boxes that come after the holidays are just like Christmas morning.

{gifted. But we love Bookroo and get boxes every year. Penny can’t get enough of them!}
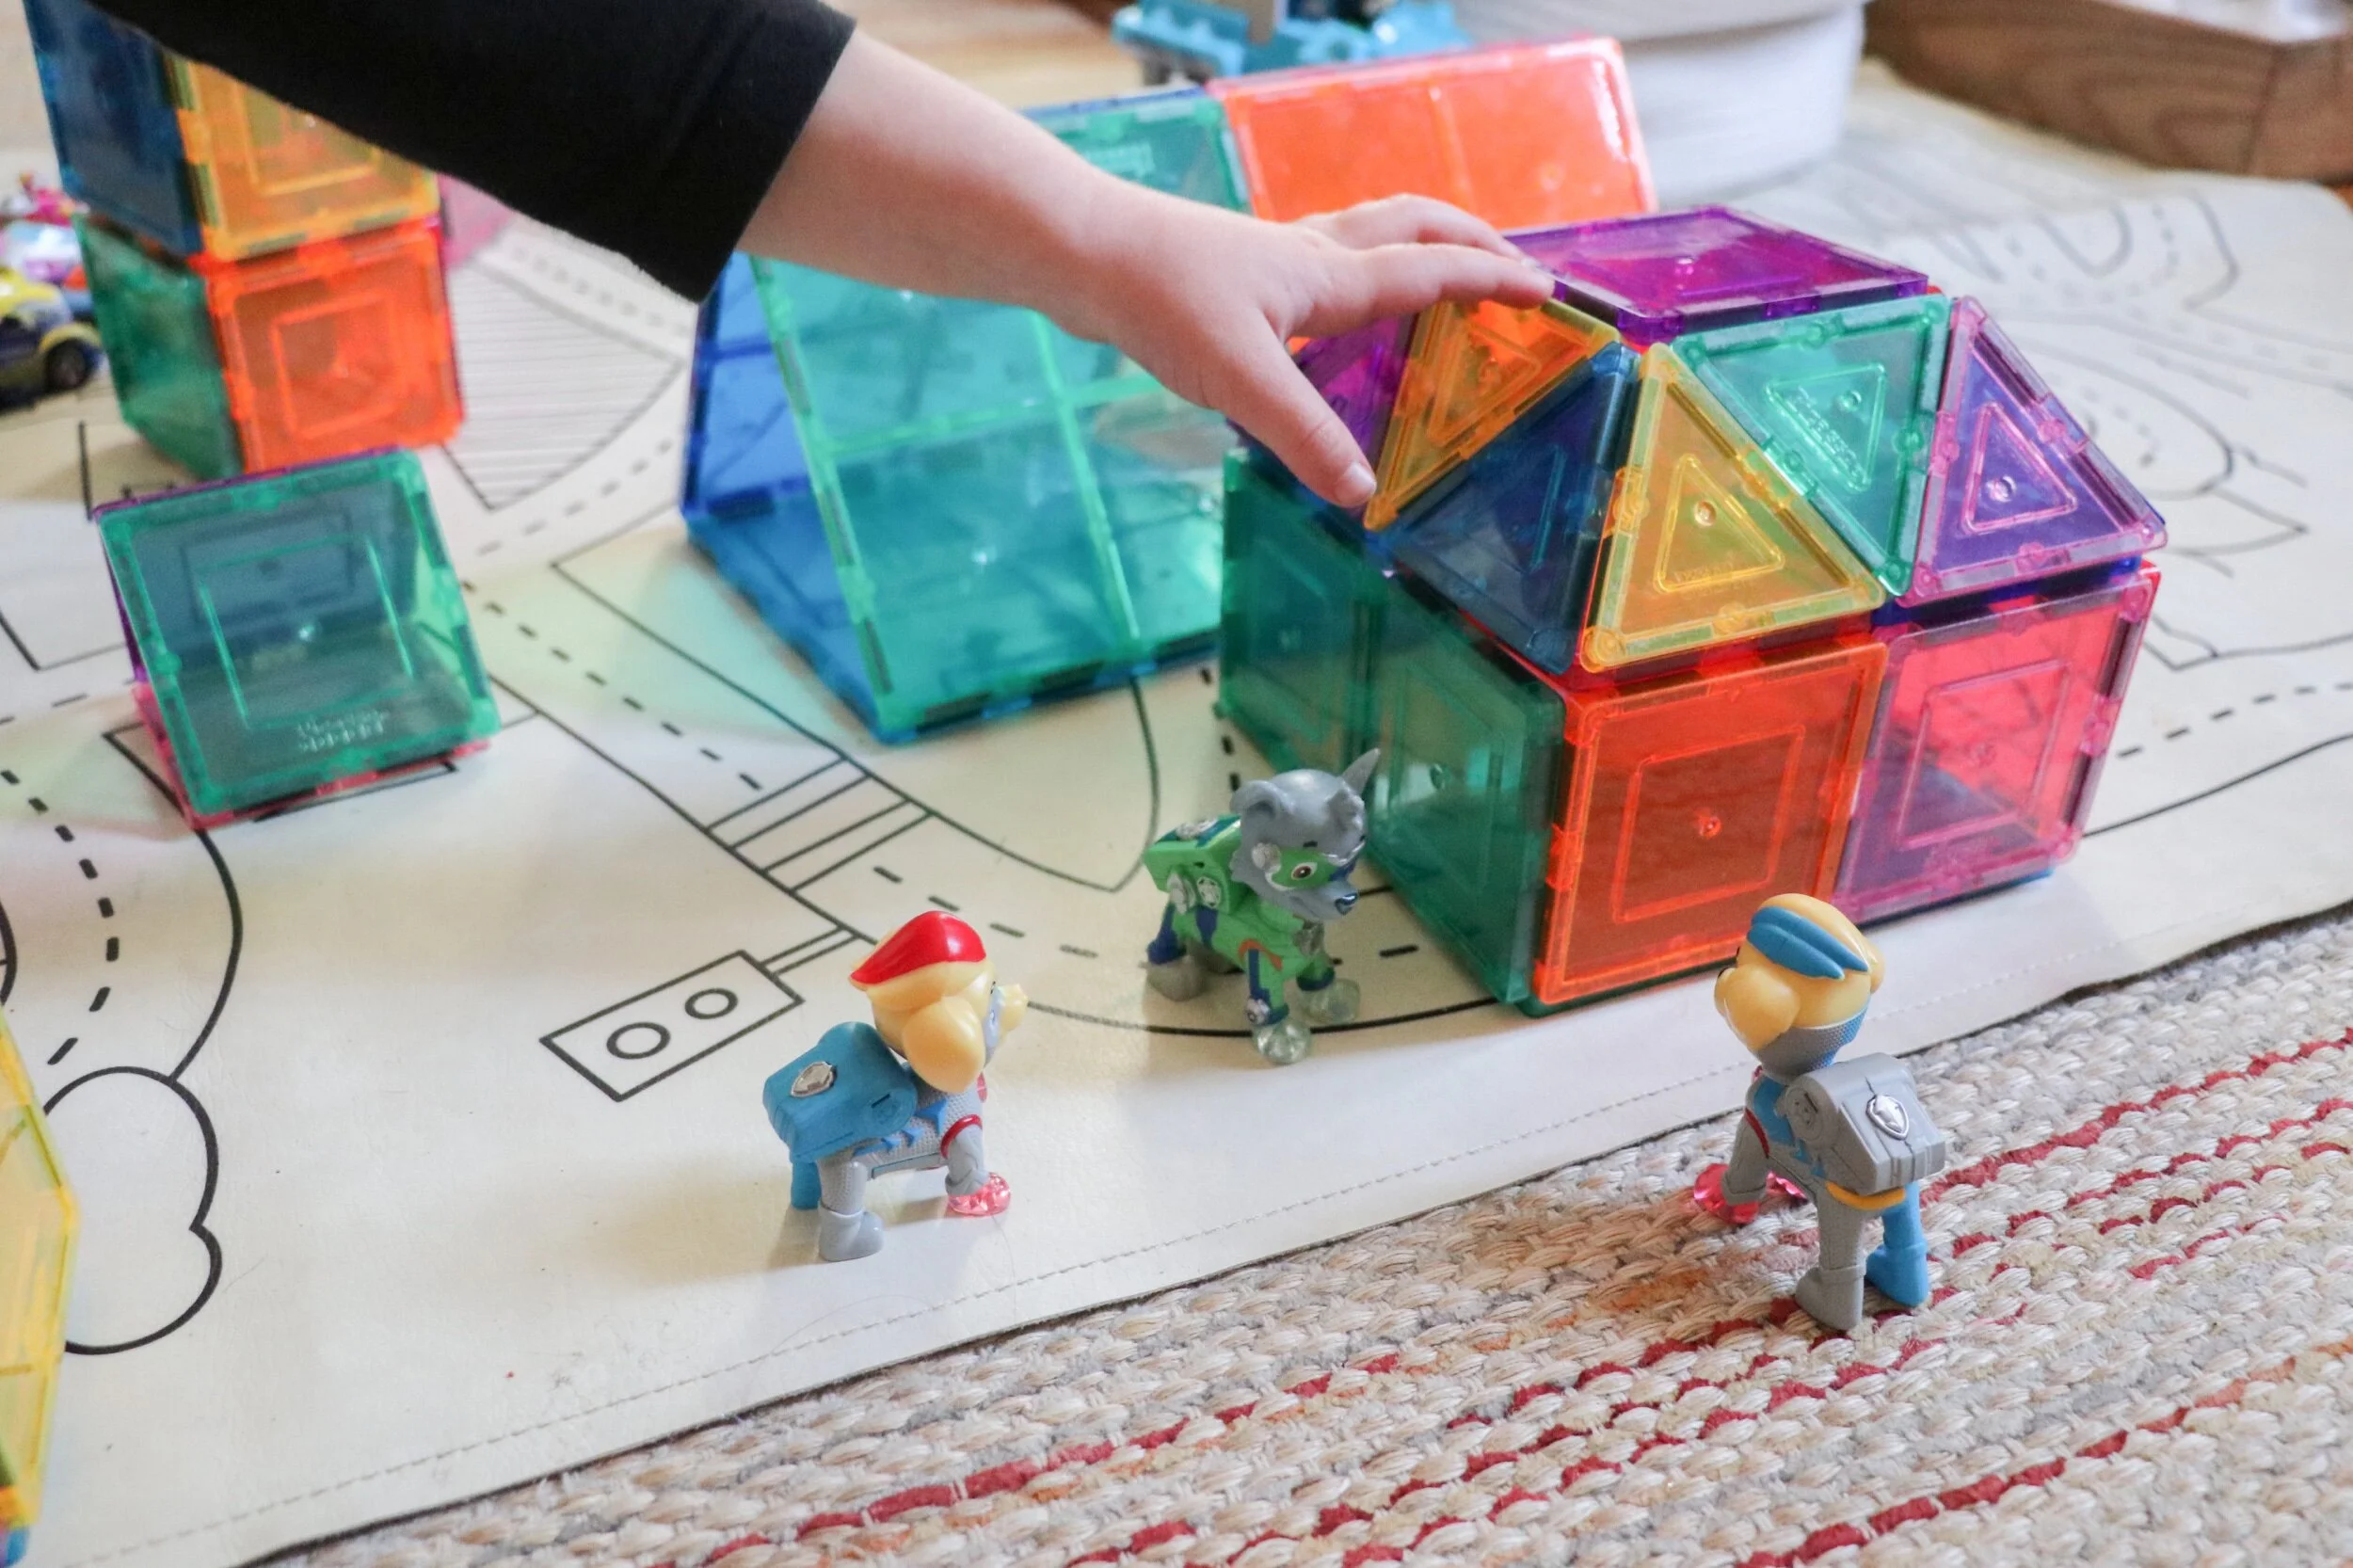
MAGNET TILES

This is a pretty popular open-ended toy these days, but if you don’t have magnet tiles yet… GET ON IT. Seriously. Kids of all ages love these. Penny literally plays with them every single day, not even exaggerating. There is so many ways to play with them.

You can get the brand name Magna-Tiles in different amount sets (30 pc, 100 pc, etc), or the cheaper Picasso tiles. We personally have the Picasso tiles - they look exactly like the Magna-tiles and are even compatible with them, but less expensive. There are even a bunch of specialty ones and add-ons if you search on Amazon, and remember - they’re compatible with each other.

IMG_6365.jpeg

PAINT STICKS

Another thing that gets used almost daily around here are paint sticks. If your kid loves to color and draw like Penny, stock up on these. They’re more vibrant and fun than using crayons, don’t dry out like markers, and are a looooooot less messy than watercolor or tempera paints. They are washable and, unlike regular paints, they dry instantly.

There are a whole bunch of different ones if you search Amazon, but we currently have this set.

Jarrah, Erin, and Briar

my top: Megan Nielsen Patterns Jarrah tee (without sleeves, bands around the armholes instead)

my skirt: Megan Nielsen Patterns Erin maternity skirt

Penny’s tee: Megan Nielsen Patterns mini Briar tee

fabrics: cotton jerseys from D&H Fabrics

————————————————————————————

First ever real maternity make, and I’m in love! Especially with this color palette! An elastic ruched skirt like this is a must for any pregnancy, and I can’t believe I never made one when I was pregnant with Penny. Super easy and quick sew! I paired it with my favorite type of Jarrah tee to make - a short sleeve version. I just leave off the sleeves and either turn under the raw edge, or in this case, add bands around the sleeve hem. Just scrunched it up and knotted it and it sits perfectly over my bump.

Penny of course needed something to match, and the last Briar tee I made her no longer fits. So ta-da! We’re really into this lighter shade of purple lately, and it pairs so nicely with rust and brown colors.

Handmade Wardrobe // mommy and me

my dress: True Bias Ogden cami hacked into tiered dress with tie straps

Penny’s dress: self drafted

fabric: all colors of double gauze from Mood Fabrics

—————————————————————————————————

Are these not the ultimate mommy-and-me looks? I’ve done a lot of matching looks for us, but wearing these dresses with her just makes me melt.

My dress is a simple hack for the Ogden cami - just cut in a very cropped length, and then 3 gathered rectangles, each one longer than the other, to create the tiered look. And of course, I’m obsessed with tie straps. So I just lengthened the strap pattern piece and cut 4 instead of 2. I went back and forth a lot about which colors I wanted to use, but these ones definitely make me happy. And double gauze is my favorite fabric, so the combo is just soooo good.

Penny’s matching dress is just 3 rectangles, with the top one having an elastic casing along the top edge. Easy peasy!

Handmade Wardrobe // rio Daisy

Mine and Penny’s tees: True Bias Rio Tee and Mini Rio Tee in a floral knit from Style Maker Fabrics, ribbing from Isee Fabric

Penny’s shorts: self drafted

my jumpsuit: Mimi G free pattern with her Sew Def magazine (old) in a viscose linen noil from Blackbird Fabrics (old)

———————————————————————————

Well look who has a new favorite pair of matching t-shirts! It’s the latest pattern from True Bias- the ringer style Rio tee. Super cute and has a vintage-y vibe. The only issue I had i that I found it to run a tad bit small in sizing. I cut my usual size, and its a bit tight in the arm. I’m going to go up a couple sizes for the next one. Penny’s size 4 is perfect, though! And the ribbing binding was actually pretty easy and came out with a nice clean finish.

My jumpsuit is something that I’ve made two other times before, I just love this style so much. This time i lowered the neckline because I just want it to be a layering piece over cute tees. I also widened the leg by 1.5” each, and changed the length too. Oh yeah, and everyone always gets confused as to where to find this pattern. Click the link above to take you to the exact issue of the Sew Def Magazine. You have to pay for the issue, but the pattern is included free. (And yes, its the right one, even though it doesn’t list the free pattern in the description).

HANDMADE Wardrobe // new swim

fabric: sport Lycra from Spoonflower, print is by Erin Kendal

Penny’s swimsuit: Megan Nielsen Mini Cottesloe swimsuit with added skirt (hack tutorial here)

my swim top: self drafted

my swim bottoms: Megan Nielsen Patterns Cottesloe swimsuit

———————————————————————

Its that time of year again, time for some new handmade swimsuits. As if I didn’t make enough last year. While I love all of my Cottesloes, I wanted to try something different this time- a bandeau style with long tie straps.

If you’re looking for a basic bandeau style sewing pattern, the Edgewater Avenue Flynn top is pretty much exactly the look I ended up with. I almost used the Flynn pattern, but I was lazy and didn’t want to get my computer out and print the pages. And I figured, it was a simple enough shape, I can self-draft that, right? So I did. And by self-draft, I mean not very technically. I basically just took some measurements and drew the shape I wanted by hand, and then went through a few trials for fit. It was my first time making a swim top without elastic (Cottesloe uses elastic along the neckline and armholes). So like I said, trial and error. The first one I made was way too tight, especially once the lining was in. The second one’s shape was funny, it dipped slightly in the front and drove me crazy. But the third was spot on!

For the straps, I just cut 4 long strips, sewed them in half wrong side together to create long tubes and then turned them right side out. I placed them 3.5” in from the side seam on each side, sandwiched in between the outer fabric and lining.

For the underbust band, I used the pattern piece from Cottesloe, just adjusted the length measurement to match this suit. And that’s it! It was actually pretty simple once I had the pattern figured out. I also sewed two layers of lining on the front of the top so I could add removable bust pads. This is something I do often, and I will have a tutorial for how to do it on a Cottesloe top (but applies to any swim or bra) up on Design Diary soon.

Penny’s swimsuit is my absolute favorite style to make her. It’s a mini Cottesloe with added skirt/peplum overlay at the waist. I wrote a tutorial for this last year (linked at the top of this post). It’s my favorite style on her, and she loves to twirl!

Handmade wardrobe // all the ruffles

dress: I Am Patterns Magdala with dress Add-on

fabric: beige eyelet from StoneMountain Fabrics

——————————————————————

This dress was a journey! You see, as soon as I saw this pattern, I knew I wanted to make the dress length version in an eyelet. That was my vision, and what I was planning on making for months. But then in the middle of construction, I tried it on after the first two tiers, and it looked SO GOOD as just a top. I was so confused. Would the bottom tier/dress length be too much? Would I get a lot more wear out of it if I kept it short length? I seriously was so indecisive, I couldn’t make up my mind. So I went o and Instagram poll. And about 68% of people who responded voted for shirt length. That was it. I was convinced they were right, the shirt made more practical sense. Especially during the time we’re in right now. I’m not exactly dressing up to go anywhere fun during a pandemic and social distancing summer.

But then I couldn’t stop thinking about the dress all night.

So the next morning, I changed my mind and actually decided to go against the popular vote and go with the dress length anyway. Is it as practical? No? Will I have a reason to wear such a pouty, frilly, ruffley dress often? Nope. But I’m in loooooove. So much volume. So many ruffles. It’s just what I needed to make right now after making so many practical tees and sweatpants and raincoats.

And if you’re wondering, it went together surprisingly easy and fast for how many tiers and layers there are. I like the pattern, and do plan on making a top version still, I think in some double gauze. Just note- the original pattern is for the top only, and then you have to buy the dress extension pattern!

Handmade WARDROBE // Dove, Hacked

my top: Megan Nielsen Dove blouse, hacked with cap sleeves in a polka dot lyocell linen from Joann Fabrics

Penny’s top: self-drafted

my jeans: Megan Nielsen Patterns Dawn jeans

———————————————————————————————

Eeeeeeeeek! I’m so excited to finally share this one! If you haven’t heard, Meg recently re-released her Dove blouse pattern in her extended sizing, as well as in Curve sizes! With the re-release, I created two hack tutorials -one of them being this sleeveless/ little cap sleeve version. I looooove it. Probably my favorite woven blouse in my closet right now. You can find the hack tutorial (as well as the other hack for a rounded neckline) on Meg’s blog - Design Diary.

Also, how cute is Penn’y matching outfit this time?! I saw someone on Instagram (ack, I can’t remember who!), make a similar little dress/top in this fabric with tan colored gauze bloomer shorts to go with it, and it was so cute! Penny already had some thrifted bloomers in the same color, so it was fate <3.

Handmade wardrobe // Retro Spring

my top: Megan Nielsen Patterns Jarrah top, sleeveless with bands, in a striped cotton jersey from Blackbird Fabrics

Penny’s top: Megan Nielsen Patterns Mini Jarrah top, sleeveless with bands, in same fabric

my shorts: Peppermint Mag Spring Shorts in organic french terry from isee fabrics

Penny’s shorts: Lowland Kids Shorties in same fabric

Penny’s turban: self drafted (find more in my Etsy shop Nelly Lou)

————————————————————————————

Soooooo, I’m in love with this outfit. This is giong to be my summer uniform, I’ll call it right now. The shorts are one of my favorites, of course - this is my fourth pair I’ve made. And although its a woven pattern, I took a chance and made this pair in a cozy french terry. They’re like cozy sweatpant shorts and its everything I could want or need right now, haha. Penny’s matching shorts are so cute, and make her little legs look so long. Silly me cut a size 4, ya know, because shes about to turn 4, so I though maybe she’d be moving up a size this summer. But they’re actually pretty big on her. Which is fine, becasue that just means they’ll probably fit her for multiple seasons. But for her next pair, I’ll definitely be cutting a size 3 .

And now for our tees! I’ve been trying out a few different tee patterns lately, and this is by far my favorite. Just the right amount of boxy and slouchy. And the shape combined with this stripe makes it feel like it came straight out of Madewell. It’s actually a Jarrah sweater, but just without the sleeves! No need to adjust the pattern - because it’s a drop-sleeve pattern, you can just turn under and hem the sleeve edge if you want. But for some added stripe play, I added some bands at the sleeve hem. And Penny’s is an exact mini copy!

Handmade wardrobe // solee

my top: DIY Solee top, instructions by Nataile Ebaugh

Penny’s top: DIY using the same method, just no elastic at the waist

fabric: rayon cotton voile from Blackbird Fabrics (no longer available)

straps: velvet ribbon from Mood Fabrics

——————————————————————————————————

So, funny thing : my top originally started out looking like Penny’s - loose and wide and floaty at the hem. I already had it finished and everything. But then I saw Natalie post her DIY Solee top on Instagram (and Star’s version, too!), which was a similar style, just with elastic at the waist too. And I fell in love. I decided I NEEDED THIS to have elastic at the waist. But I already had this cut and finished at an almost- cropped length, not enough to turn up the hem even more to add in the elastic. So instead, I simply took some scrap strips of fabric and made a separate casing that I stitched to the inside of the top, and then threaded the waist elastic through that. Voila! It worked!

It worked out fine for me in the end, but if you want to do it the easy way, Natalie has step by step instructions in her Instagram stories.

P.S - I love how mine turned out, but I’m OBSESSED with hiw cute Penny’s is. This is one of my favorite styles to make her, and its also one of the easiest since its just a rectangular piece of fabric with some elastic. Easy peasy!